You know that sinking feeling when you play back what you thought was perfect audio, only to hear hiss, hum, or background noise ruining everything? Whether you’re dealing with vintage recordings, field audio captured in less-than-ideal conditions, or simply a microphone that picked up your neighbor’s lawnmower, damaged and noisy recordings don’t have to be lost causes. Modern noise reduction and audio restoration techniques can rescue even the most challenging material.
The good news is that cleaning up problematic audio has become remarkably accessible. What once required expensive hardware and specialized knowledge now happens inside your DAW with the right tools and understanding of basic principles.
Why Audio Gets Damaged in the First Place
Understanding the problem helps you fix it more effectively. Audio recordings accumulate noise and degradation from multiple sources. Environmental sounds bleed into your takes during recording sessions. Electrical interference creates hums and buzzes, especially with older equipment or improper grounding. Physical media like tape and vinyl develop clicks, pops, and surface noise over time. Even digital recordings suffer when you’re working with low-quality microphones, high gain settings, or compressed file formats that introduce artifacts.
Each type of noise requires a slightly different approach, which is why having a solid Pro Sound Effects Library matters when you’re building professional projects. Clean source material always beats restoration work, but when you need to salvage existing audio, knowing what you’re fighting makes the battle much easier.
The Core Tools Every Audio Restorer Needs
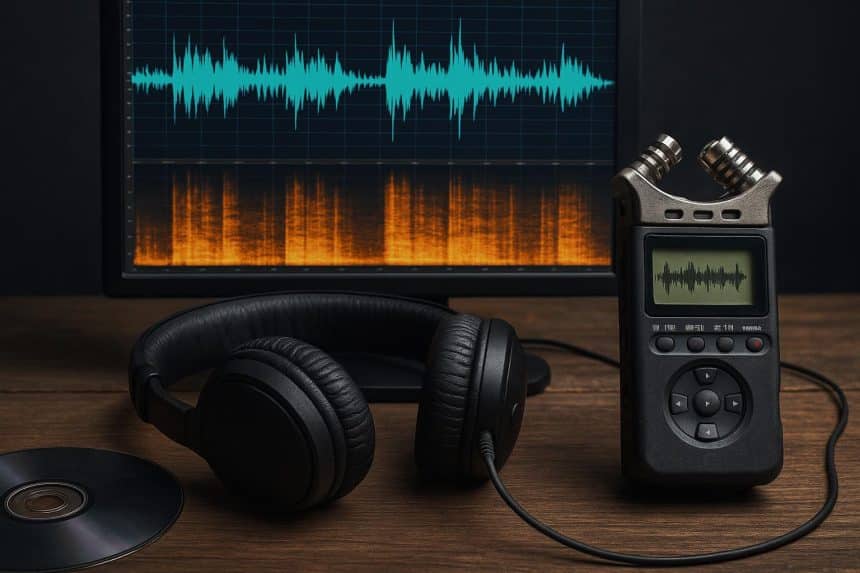
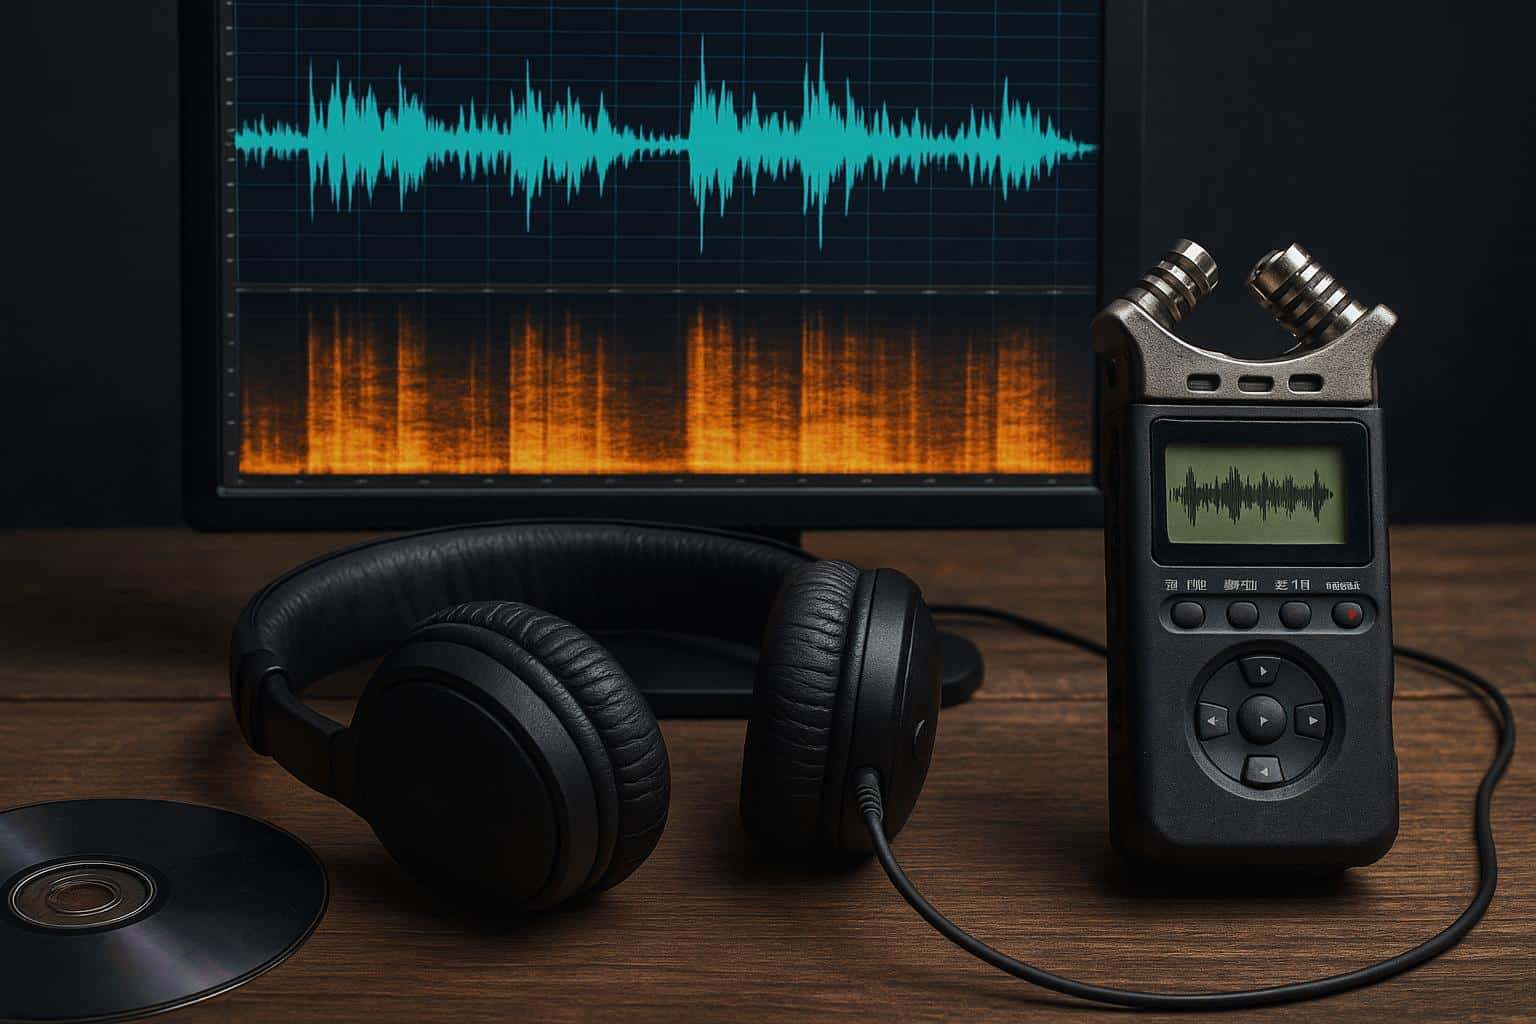
Noise reduction processors form the foundation of any restoration toolkit. These analyze your audio to identify unwanted frequencies and reduce them while preserving the original signal. Spectral editors let you visualize audio as a frequency-over-time display, making it possible to surgically remove specific noises without affecting surrounding material. De-clickers and de-crackers target transient impulse noises common in vinyl transfers and damaged recordings. Hum removers specifically address electrical interference at 50Hz, 60Hz, and their harmonics.
The trick with all these tools is restraint. Aggressive processing creates that hollow, underwater quality that screams “over-processed.” Start conservative, address the most problematic frequencies first, then assess whether you need additional passes.
A Practical Workflow That Actually Works
Begin by making a safety copy of your original file before touching anything. Listen through the entire recording with good headphones to identify specific problems and their locations. Create a noise profile if your software supports it by selecting a section containing only the noise you want to remove, not the desired signal. Apply your initial noise reduction at moderate settings, typically 40-60% reduction rather than trying to eliminate everything at once.
After the first pass, listen critically for artifacts or unnatural coloration. You might hear the classic “watery” sound of over-processing or notice that consonants in speech have become mushy. If the audio sounds good, stop there. If specific problems remain, use targeted tools like de-clicking for individual pops or spectral editing to paint out sustained noises. Always compare your processed version against the original to ensure you’re improving rather than just changing the character of the audio.
When to Walk Away from a Recording
Some audio simply can’t be saved, and recognizing these situations saves you hours of frustration. If the noise floor is louder than the signal you’re trying to preserve, you’re fighting a losing battle. When the damage has already destroyed critical frequency information that defines the character of the sound, restoration becomes reconstruction. Heavily compressed or bit-reduced files have already discarded information that no algorithm can retrieve.
Sometimes the most professional decision is acknowledging that a re-recording will yield better results than trying to polish a fundamentally flawed take. Your time and your audience’s listening experience both matter too much to waste on material that’s beyond practical repair.