The ability to remotely access your computer and iPhone has become not just a convenience, but a necessity. This article will serve as a guide to help you enable Remote Desktop functionality on both Mac and iPhone. Whether you’re a professional looking for seamless access to your work device or simply looking for easy ways to connect to your device remotely. With it, you can access other computers’ Finder menus, share files and folders with it, or even set up task automation.
In this step-by-step guide, we’ll walk you through the process of setting up and enabling Remote Desktop capabilities on your Mac and iPhone. Whether you’re a seasoned tech enthusiast or a casual user, anytime, anywhere access to your devices can be secured and simplified. Where your Mac and iPhone are always within reach. Let’s know more about it.
Can you use Remote Desktop on Mac/iPhone?
Yes, Remote Desktop functionality is readily available for both Mac and iPhone users. However, for those who want to leave behind the complexities of a complex configuration process and go with a straightforward remote connection experience, the recommendation is to opt for third-party remote desktop software.
These third-party solutions streamline the Remote Desktop experience, making it more accessible to a wider audience. By choosing the right software, users can avoid the technical hurdles associated with setting up remote access on their Mac or iPhone. Adopting a third-party remote desktop application not only simplifies the process but also increases the overall efficiency of remote connections, ensuring a hassle-free experience for users of varying technical skill levels.
How to use remote desktop on a Mac?
If you are looking for a third-party remote desktop solution for Mac and iPhone, we have brought you such a software. Which can solve all your problems. Avica Remote Desktop, this application offers cross-platform compatibility, making it easy to establish remote connections between Windows, Mac, iOS and Android devices.
When it comes to remote desktop solutions for Mac, Avica Remote Desktop stands out as a great choice. Avica boasts impressive compatibility across devices, ensuring a seamless and unique remote desktop experience. Avica’s user-friendly interface is remarkable, making it accessible to users of all levels of technical expertise. It is also a trusted solution for remote access on Mac, offering strong security with end-to-end AES-256 encryption.
Follow these steps to enable and use Avica Remote Desktop on your Mac:
Step 1: Download and Install Avica Remote Desktop
Visit Avica’s official website and download Avica on your Mac and the remote device.
Open the downloaded file and follow the installation instructions to complete the setup.
Step 2: Launch Avica Remote Desktop
Once installed, launch the Avica application on both devices.
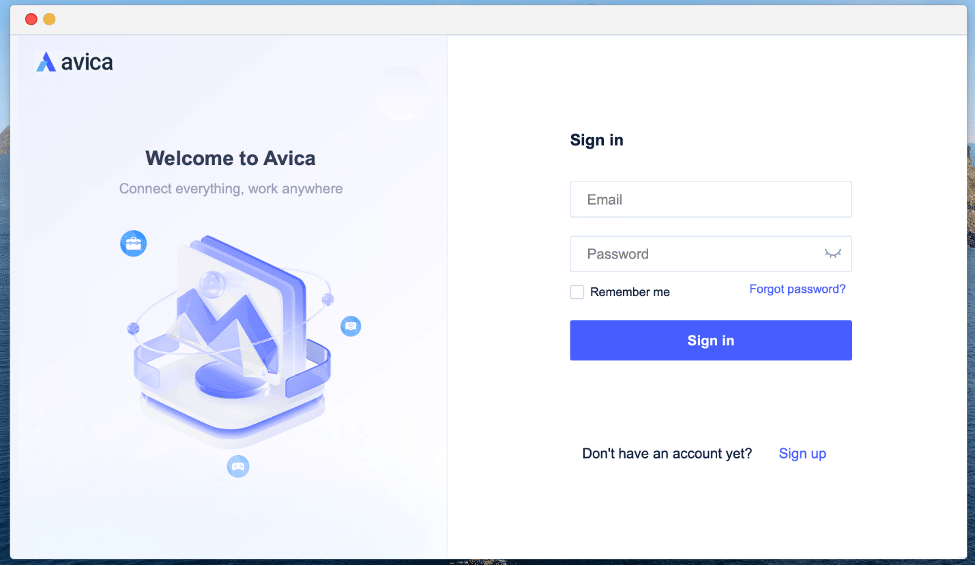
Step 3: Set Up Your Avica Account
If you don’t have an Avica account, sign up for one using your email address.
Log in to your Avica account.
Step 4: Connect to a Remote Device
On the Avica interface of the host Mac, enter the remote device’s details, such as “Avica ID”, and click on the “Connect” button.

Step 5: Establish a Secure Connection
Avica will prompt you to enter Password of remote device.
Once authenticated, Avica will establish a secure connection using end-to-end AES-256 encryption.
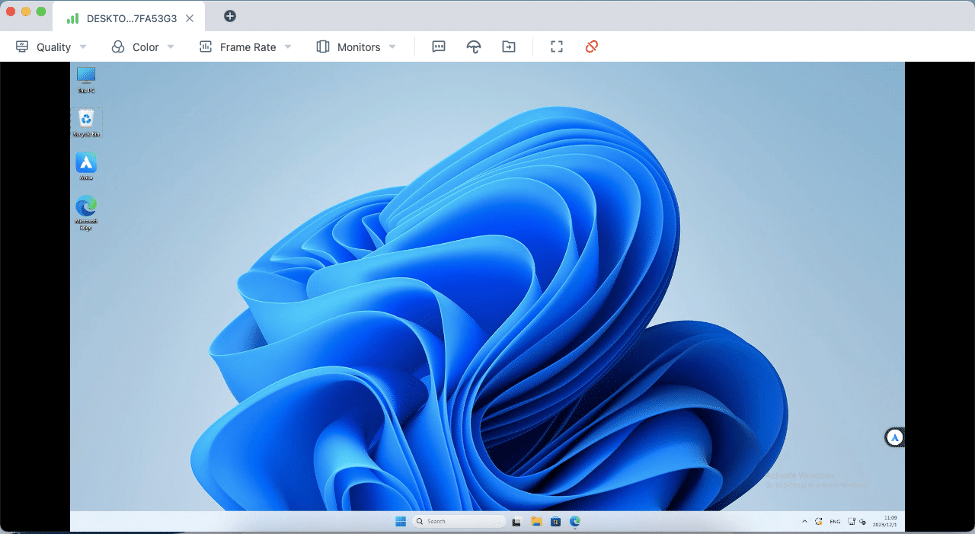
Step 6: Remote Desktop Access
After a successful connection, you’ll have remote access to the desktop of the target device.
Navigate and control the remote desktop as if you were physically present.
Step 7: Disconnect and Exit
To end the remote session, simply close the Avica Remote Desktop application or use the disconnect option.
Ensure a secure disconnection to protect your data and the remote device.
Note: Avica Remote Desktop’s compatibility extends to various devices and operating systems, making it a unique solution for remote access. Always ensure that you have the necessary permissions and consent before accessing a remote device.
Enabling Remote Desktop on an iPhone using Avica Remote Desktop
How to use remote desktop on an iPhone?
Adding convenience to iPhone users, Avica Remote Desktop offers a seamless solution for remote access. Avica Remote Desktop is also available on the iPhone.
If you want to use Avica to easily access remote desktop from your iPhone to other devices, you can download the Avica app to your iPhone by following these general steps:
Download Avica App:
- Visit the App Store on your iPhone.
- Search for “Avica” and download the Avica app.
Install Avica on the Target Device:
- Install the Avica software on the computer or device you want to remotely access. You can find the necessary software on the Avica website.
Create an Account:
- Open the Avica app on your iPhone.
- Create an account or log in with your existing Avica account.
Add a Device:
- In the Avica app, there should be an option to add a new device for remote access.
- Follow the on-screen instructions to add the target device by providing the necessary details.
Connect to the Remote Device:
- Initiate the remote connection.
Control the Remote Device:
- You should now have control over the remote device from your iPhone.
● Use the on-screen controls to navigate and interact with the remote desktop
Conclusion:
Enabling remote desktop functionality on both Mac and iPhone is a simple task, thanks to user-friendly solutions like Avica Remote Desktop. With its compatibility, ease of use, and strong security measures, Avica provides a reliable platform for users seeking effective remote access to their devices. With the help of Avica Remote Desktop, you can access your computer or other devices from anywhere. By which you can easily solve the problems of your loved ones and also the problems of your time.